JSON Web Tokens is a popular web standard for representing claims securely between two parties. In a nutshell, a JSON Web Token is several chunks of Base64-encoded JSON concatenated together, specifying who issued it and for whom, what’s the audience of the token, for how long it’s valid, and what the holder may do.
Web tokens are immensely useful when you want to talk to some API on behalf of your user, but also when your user wants to talk to your own set of APIs. JWTs are not to be confused with OAuth—the former is just a piece of JSON, the latter is a protocol (that might use JWT under the hood).
When you start another hobby project, authentication might be the very last thing on your list. We often resort to using trivial schemes of Basic Auth-based secrets—or somewhat more involved HTTPS client certificate mechanisms, because we are the sole users of our projects online. Sometimes, though, those projects scale up to a couple extra people and now we’re suddenly faced with a challenge of managing the users, figuring how to let them reset their passwords and how to make sure their accounts stay secure enough.
No one wants to reimplement the user management story over and over, even Devise gets too cumbersome when used for small things. Luckily, there are many companies that provide authentication and authorization as a service, and most of them have free plans.
Let’s recap our goals: we have a HTTP-based backend that we want secure with as little effort as possible. In the age of microservices we extract the auth tasks in a sidecar (also known as an envelope)—a service that runs alongside your actual backend and proxies all the requests in and out, providing added value like authorization, logging, etc. In this article, envoy will be our sidecar. For the AasS provider I’ll go with Auth0, a simple platform with great support for all kinds of frontends. You’ll be able to add authorization not only to your SPA websites, but also to mobile applications in few easy steps!
Create a new Auth0 API
I won’t get into much detail on Auth0 side here—for one I want to keep this article somewhat agnostic; besides, the Auth0 tutorials are superb.
Configure envoy as an envelope
Let’s first configure envoy to proxy all the requests. For that, we use this simple config:
|
|
This configuration defines a single listener listener_backend listening on 0.0.0.0:8081 as defined in [1] that accepts requests for any domain ([2]) and forwards all the requests to our backend ([3]), which is expected to listen on port 80 at backend.local ([4]). Update the example to match your configuration, making sure that the section [4] matches your configuration. Envoy will try to resolve the DNS name from the address but you can use an IP address too (e.g. 127.0.0.1 if the backend is running on your local machine). If you run envoy as part of your docker-compose, you can use the backend container’s name here.
Start envoy with envoy -c config.yaml and point your client to the port 8081 now; you should see no change in the request processing but now envoy operates as an envelope, proxying the requests to your real backend and you can start using its amazing features, notably JWT verification.
To set up the JWT verification, first you need to add a new cluster:
|
|
The new endpoint will allow envoy to fetch the JWKS file which specifies the signing keys for your RS256 JWT and verify the signature. The address of the cluster is in your Applications > Demo App > Settings > Domain field of Auth0 configuration:
 {:height 410, :width 778}
Don’t forget to specify the domain name in the SNI field ([2]), and configure the server certificate validation in [3]–for the details on using HTTPS clusters with envoy see my previous article.
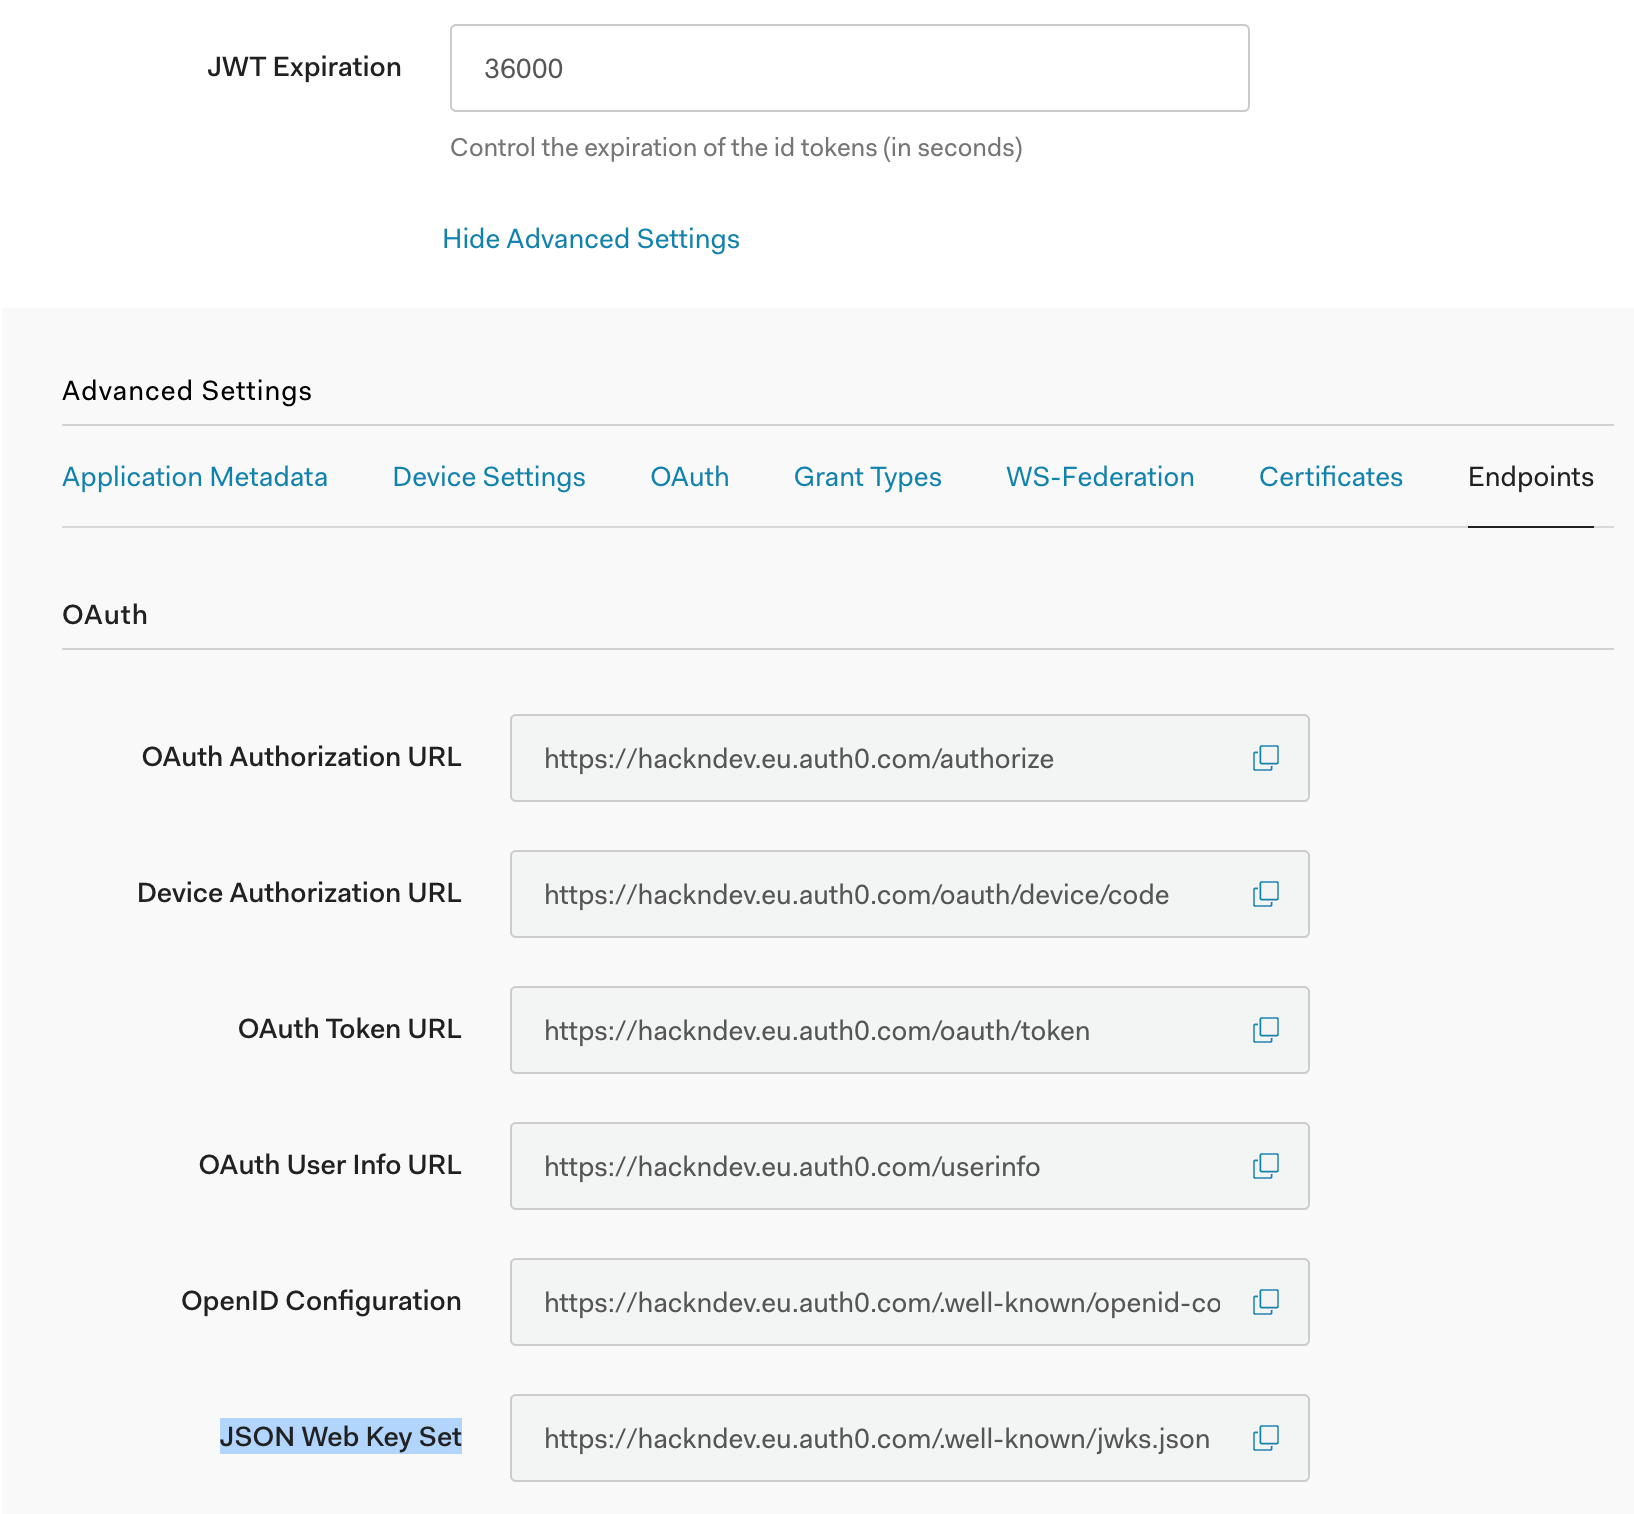
If you click on the link Show Advanced Settings in the very bottom of the Settings screen and select the Endpoints pane you can verify the JWKS URL:
Now we can extend the http_filters section by adding a jwt_authn filter:
|
|
This is a lot to unload. First, we check who issued the token ([1]). For Auth0 that field will always match your tenant domain. Next we check the audience ([2])—for whom this token was issued. The audience is set to your API identifier, which commonly could be your backend’s URL. Finally, we specify how to validate the token signature in [4]: we use our JWTK URL and the cluster name we configured in the previous step.
This configuration tells envoy that it can trust any token issued by your Auth0 tenant for use with your Auth0 API as verified by Auth0’s private signature.
Now that we configured the JWT provider, we use it in the rules section ([4]). I provided two examples; here the path /insecure can be accessed without a token, and everything else will require one. You can also define advanced configuration options with path regexp matching and several different JWT providers if needed.
Now if you try using your client, you’ll get a HTTP 401. To access your API, you must provide a valid JWT in the Authorization header, which you can do with one of many Auth0 client libraries.
By configuring the users via Auth0 admin panel, you can quickly generate credentials for your friends and testers. If you want to track a broader audience, you can enable new signups or logins via third-party services like Google; you will have to further authorize the incoming requests in your code, though.
This sums up the envoy authentication. I’ll revisit this topic again to discuss how you can further authorize the requests in your backend and have a granular RBAC.